Digital Panel Quilt

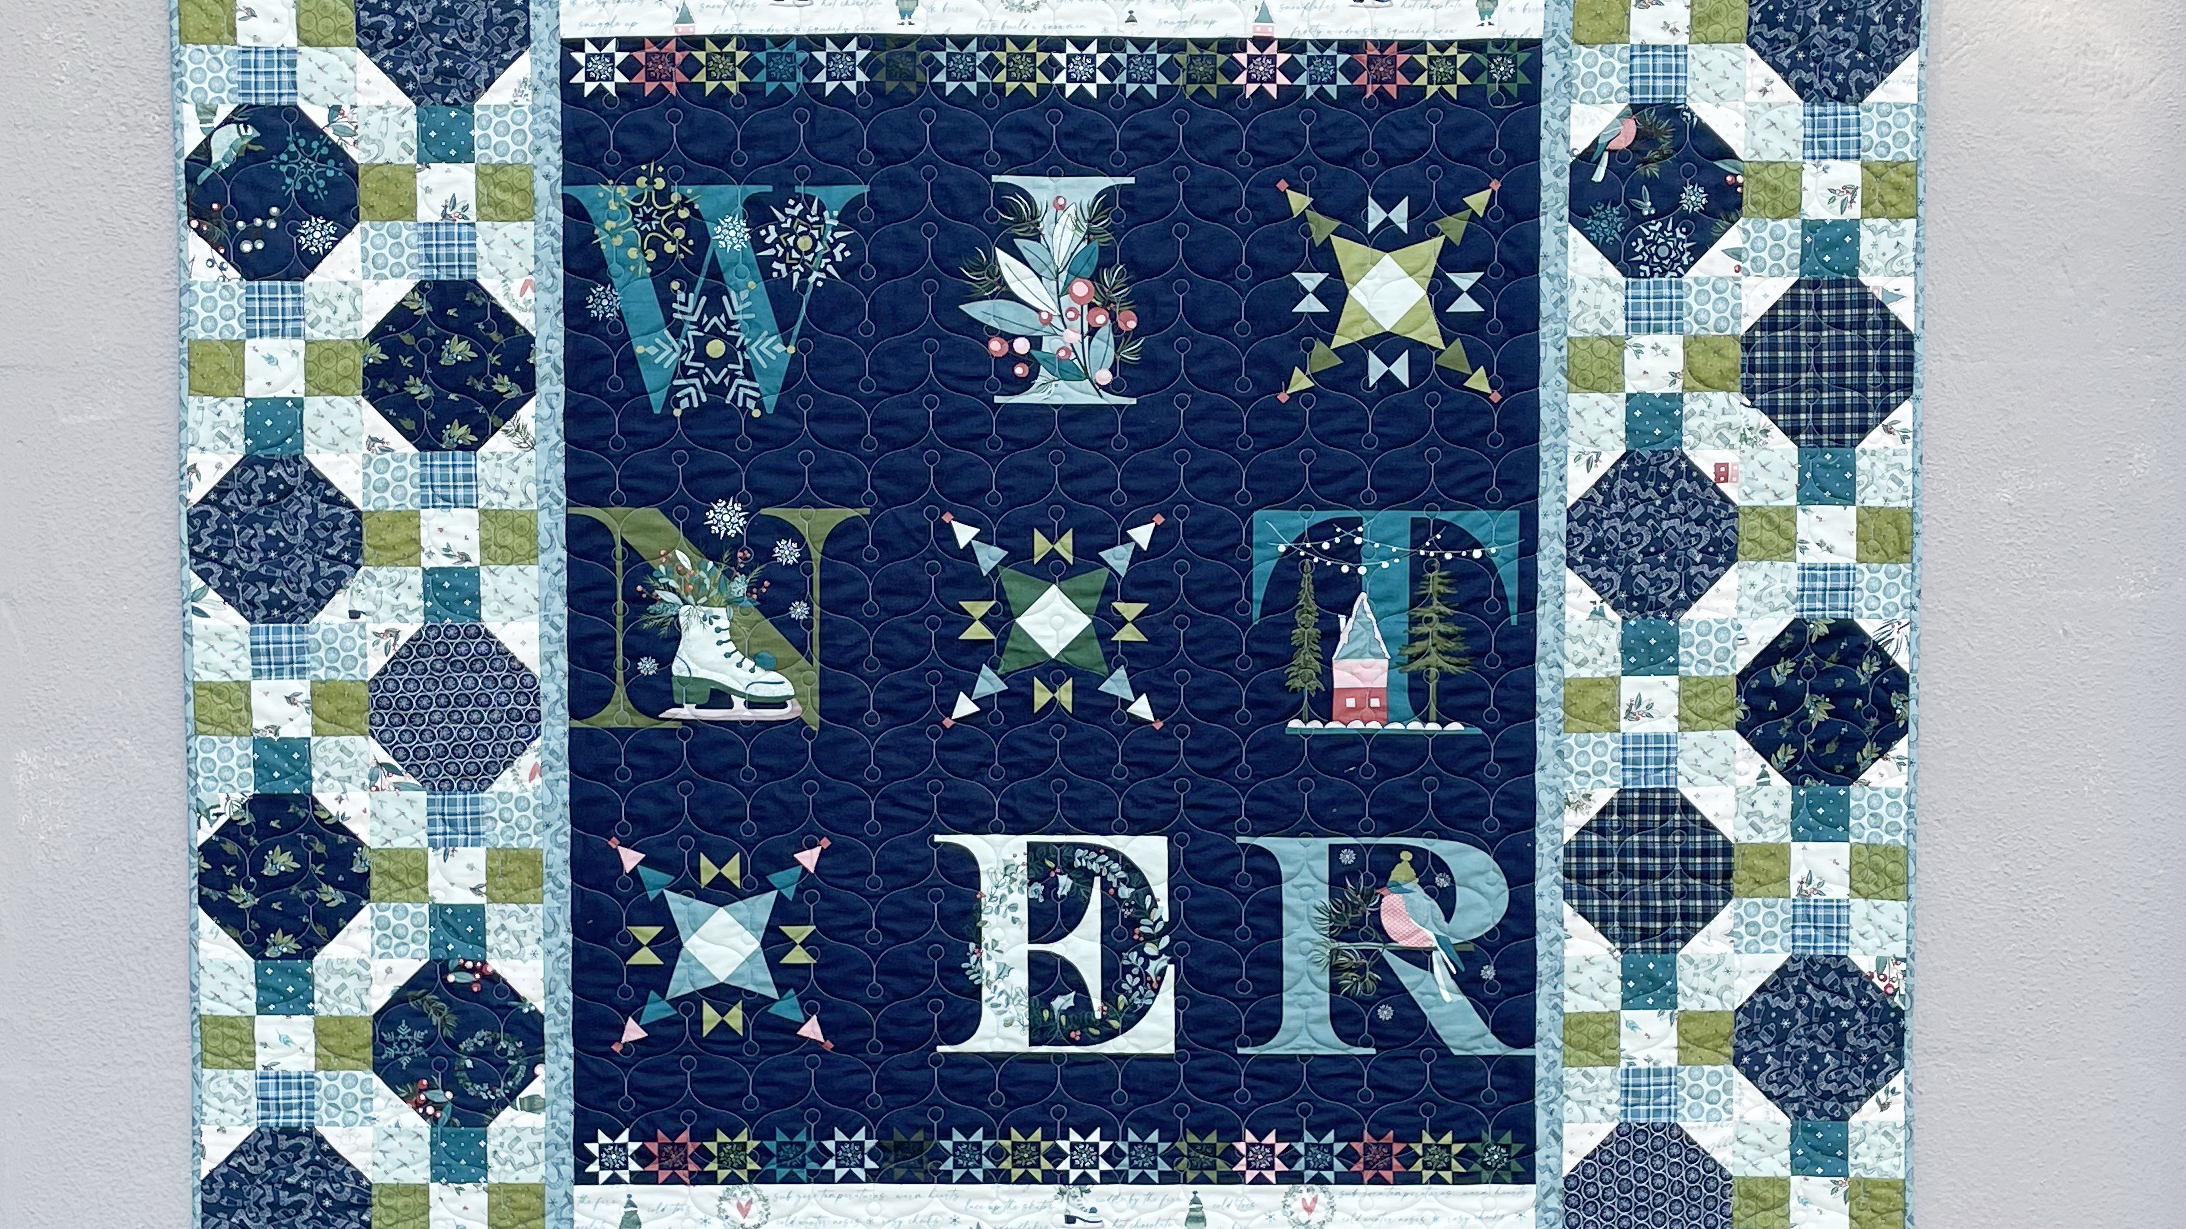
Learn how to transform a 36″ wide fabric panel into a 3′ x 4′ quilt centerpiece by adding borders and pairing it with standard 6″ or 12″ quilt blocks!
Grab your SIGNED copy of The Panel Quilting Workshop here: https://stephaniesoebbing.com/product/the-panel-quilting-workshop-12-quick-and-easy-projects-for-every-season/
In this step-by-step tutorial, Stephanie from Quilt Addicts Anonymous walks you through trimming, squaring, and adding borders to your panel, plus demonstrates how to piece snowball and nine-patch blocks to complete the design.
This project is featured in The Panel Quilt Workshop, Stephanie’s brand-new book, filled with creative patterns for panels of all shapes and sizes—plus bonus home décor and bag projects. Get your signed copy here: https://stephaniesoebbing.com/
What you’ll learn in this video:
- How to square up and trim your panel for borders
- Tips for easing and pressing borders so they lay flat
- Step-by-step piecing for snowball and nine-patch blocks
- Ideas for customizing your panel quilt with any block pattern
📘 Grab your SIGNED copy of The Panel Quilting Workshop here: https://stephaniesoebbing.com/product/the-panel-quilting-workshop-12-quick-and-easy-projects-for-every-season/
If you must buy from Amazon, please use this link: https://amzn.to/3Lh8KC0
✨ Share your finished quilts and tag @QuiltAddictsAnonymous on Instagram, TikTok, or Facebook—I can’t wait to see what you create!
Syllabus
Learn how to transform a 36" wide fabric panel into a 3' x 4' quilt centerpiece by adding borders and pairing it with standard 6" or 12" quilt blocks! In this step-by-step tutorial, Stephanie walks you through trimming, squaring, and adding borders to your panel, plus demonstrates how to piece snowball and nine-patch blocks to complete the design. This project is featured in The Panel Quilt Workshop, Stephanie’s brand-new book, filled with creative patterns for panels of all shapes and sizes—plus bonus home décor and bag projects.